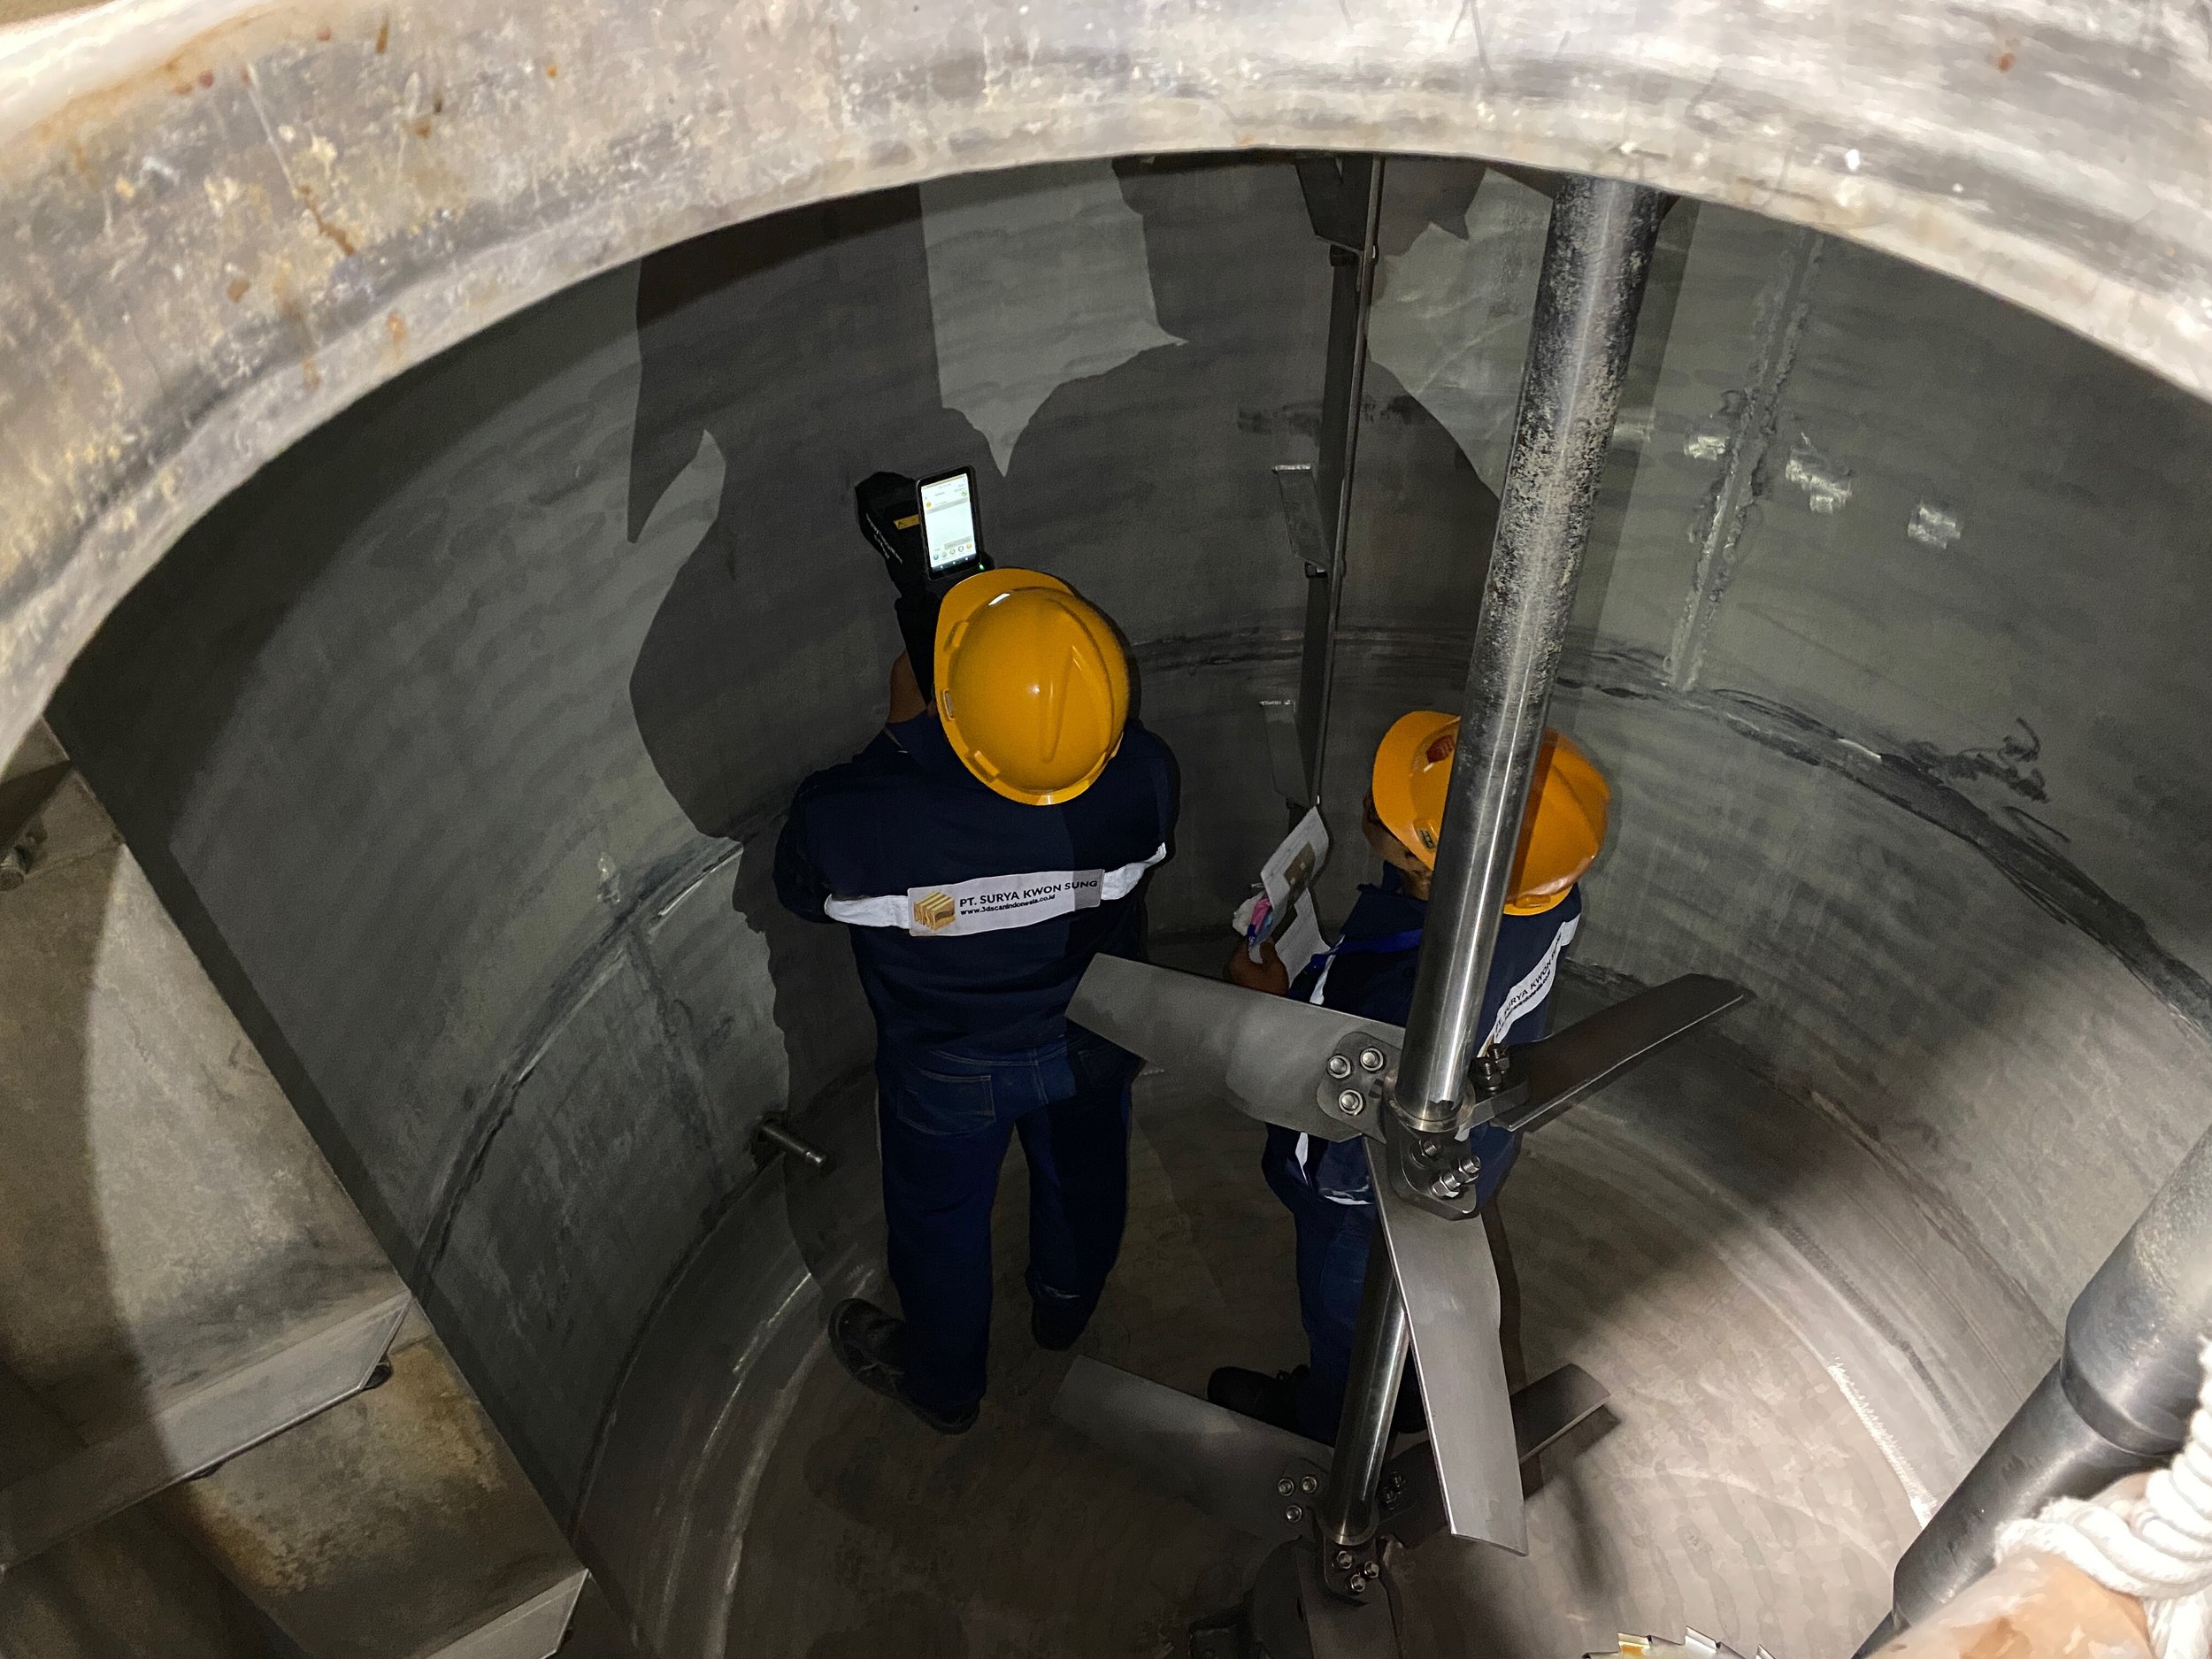
XRF & ULTRASONIC THICKNESS ANALYSIS
X-ray fluorescence (XRF) analysis is a nondestructive testing (NDT) method used to determine the elemental composition of materials. Our handheld XRF analyzer can accurately measure the percent composition of a wide range of elements, including Ti, V, Cr, Mn, Fe, Co, Ni, Cu, Zn, Ga, Ge, Zr, Nb, Mo, Ru, Rh, Pd, Ag, In, Sn, Sb, Hf, Ta, W, Re, Pt, Au, Pb, Bi, Mg, Al, Si, P, and S.
XRF analysis is commonly applied in reverse engineering to verify the composition of elements—such as chromium in stainless steel—ensuring that the reverse-engineered part matches the original material specifications.
As 3D laser scanners measure only the surface of an object, there may be instances where the object's thickness cannot be determined from 3D laser scan data alone. Consequently, we also provide ultrasonic thickness gauge measurements, another nondestructive testing (NDT) method, to measure the thickness of objects. This thickness data can then be used alongside 3D laser scan data to create accurate and comprehensive as-built 2D and 3D CAD models, BIM models, and plant design models.
EQUIPMENT USED
XRF Analyzer: Skyray Explorer Handheld XRF
Ultrasonic Thickness Gauge: Olympus 38DL PLUS (Accuracy: 0.001 mm)
APPLICATIONS
XRF Elemental Composition Analysis of Metals for Reverse Engineering & Inspection
Thickness Analysis for Reverse Engineering, Machinery Alignment & Inspection, Storage Tank Inspection & Calibration, Construction Verification, and Deformation & Wear Analysis.
3D CAD Models, BIM Models, and Plant Design Models
2D CAD Documentation Related to XRF & Thickness analysis


