PROPELLER
INSPECTION


PROPELLER INSPECTION
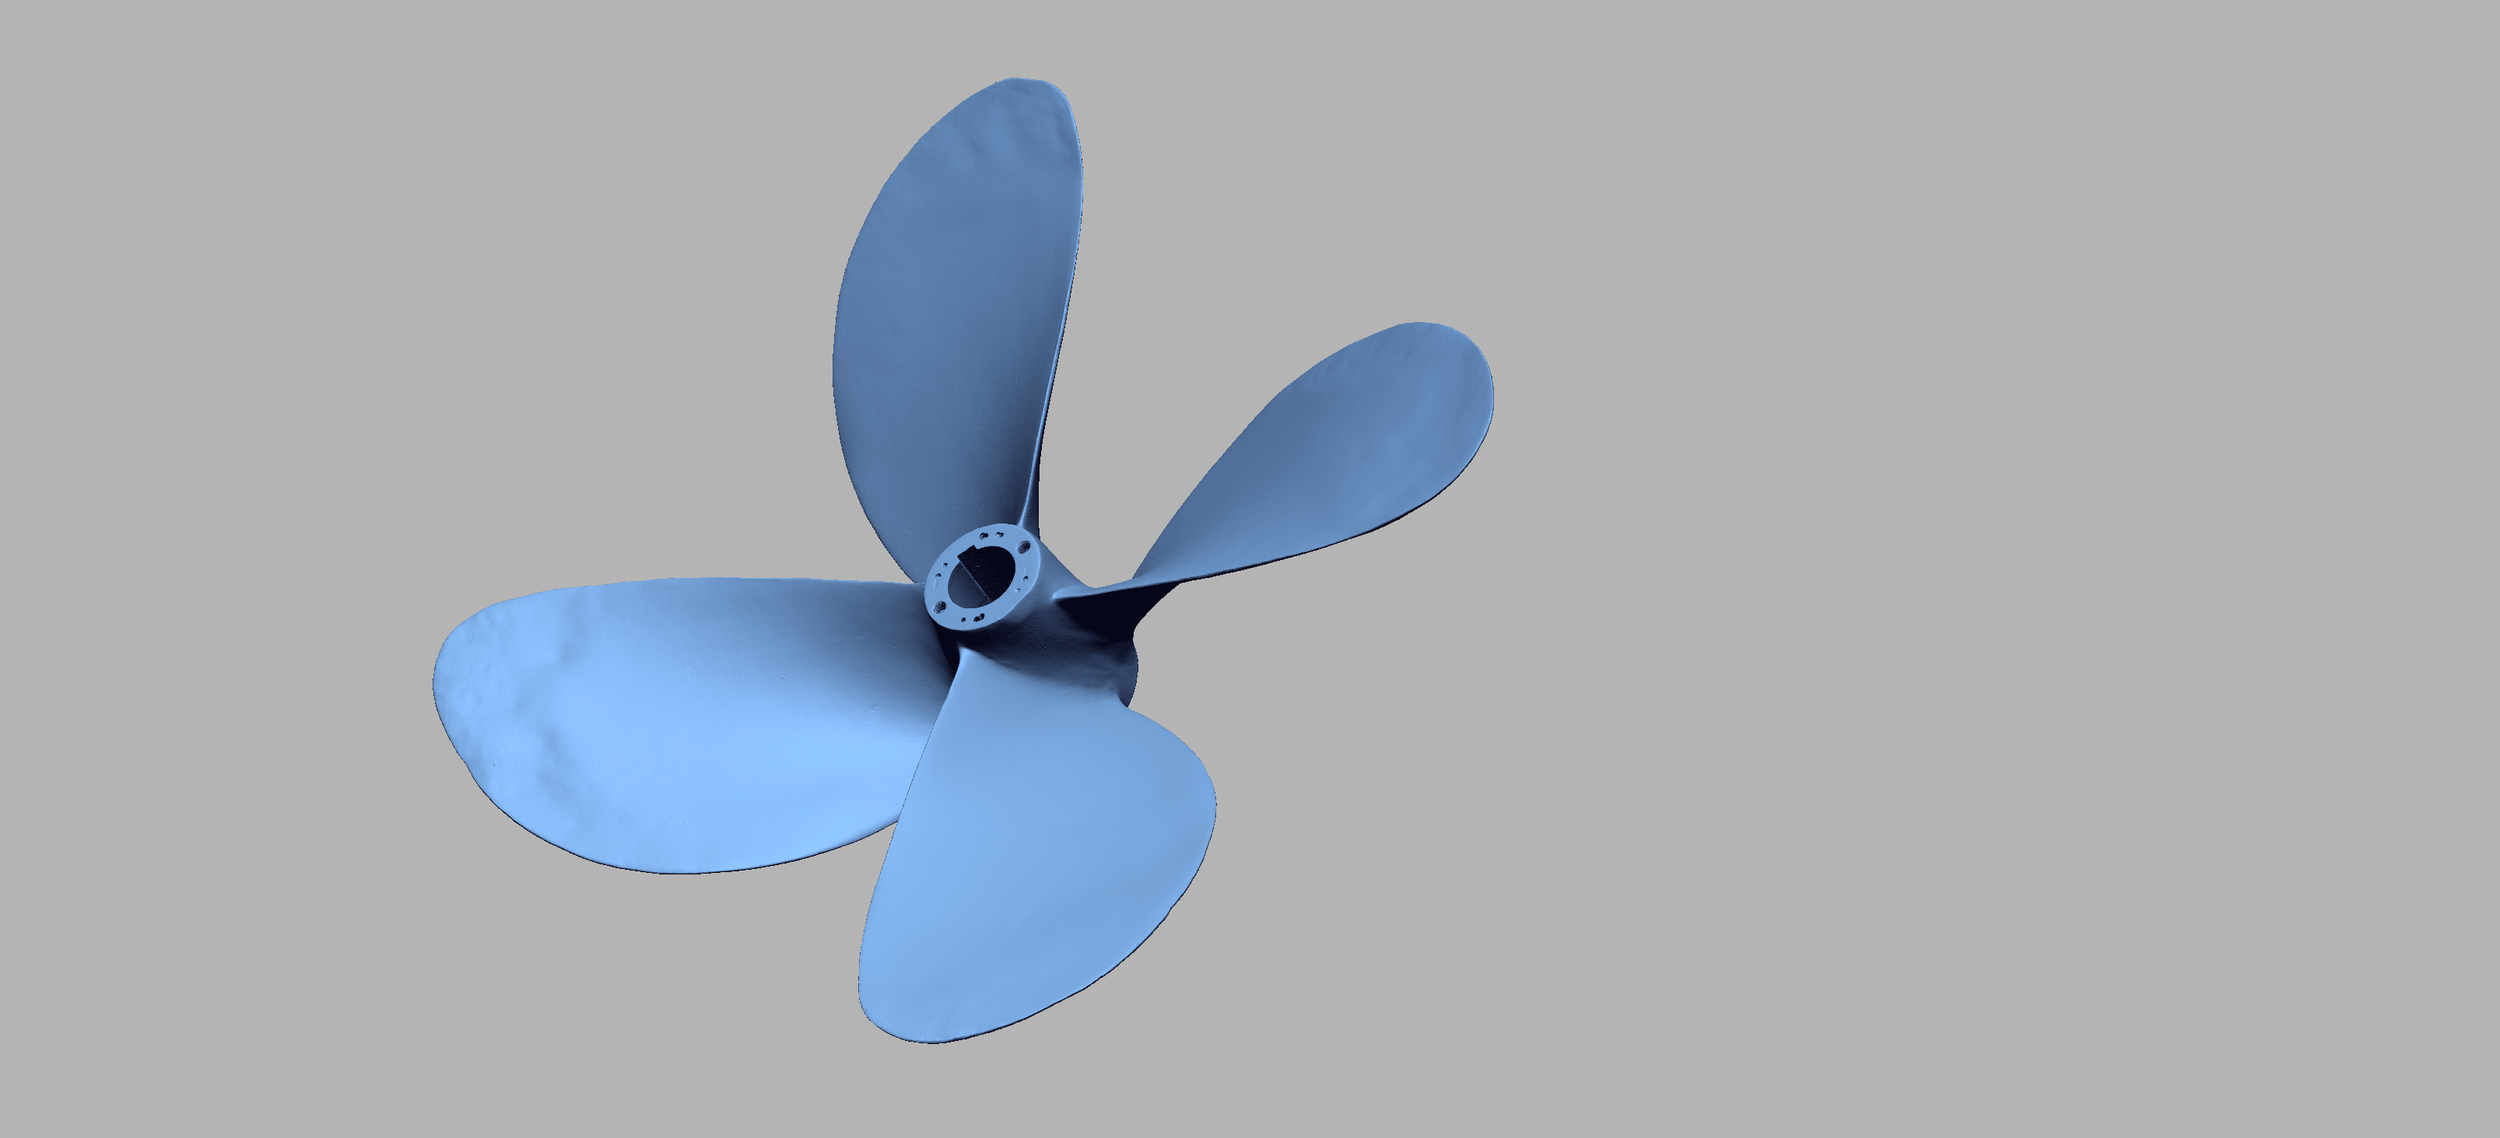
Propeller damage and tolerance deviations—especially those seen in ISO 484 Class 3 propellers—can significantly reduce propeller efficiency, lower thrust, and generate excessive vibrations that can travel up the driveline to affect bearings, gearboxes, and engines. Often, such damage is not readily apparent from a simple visual inspection.
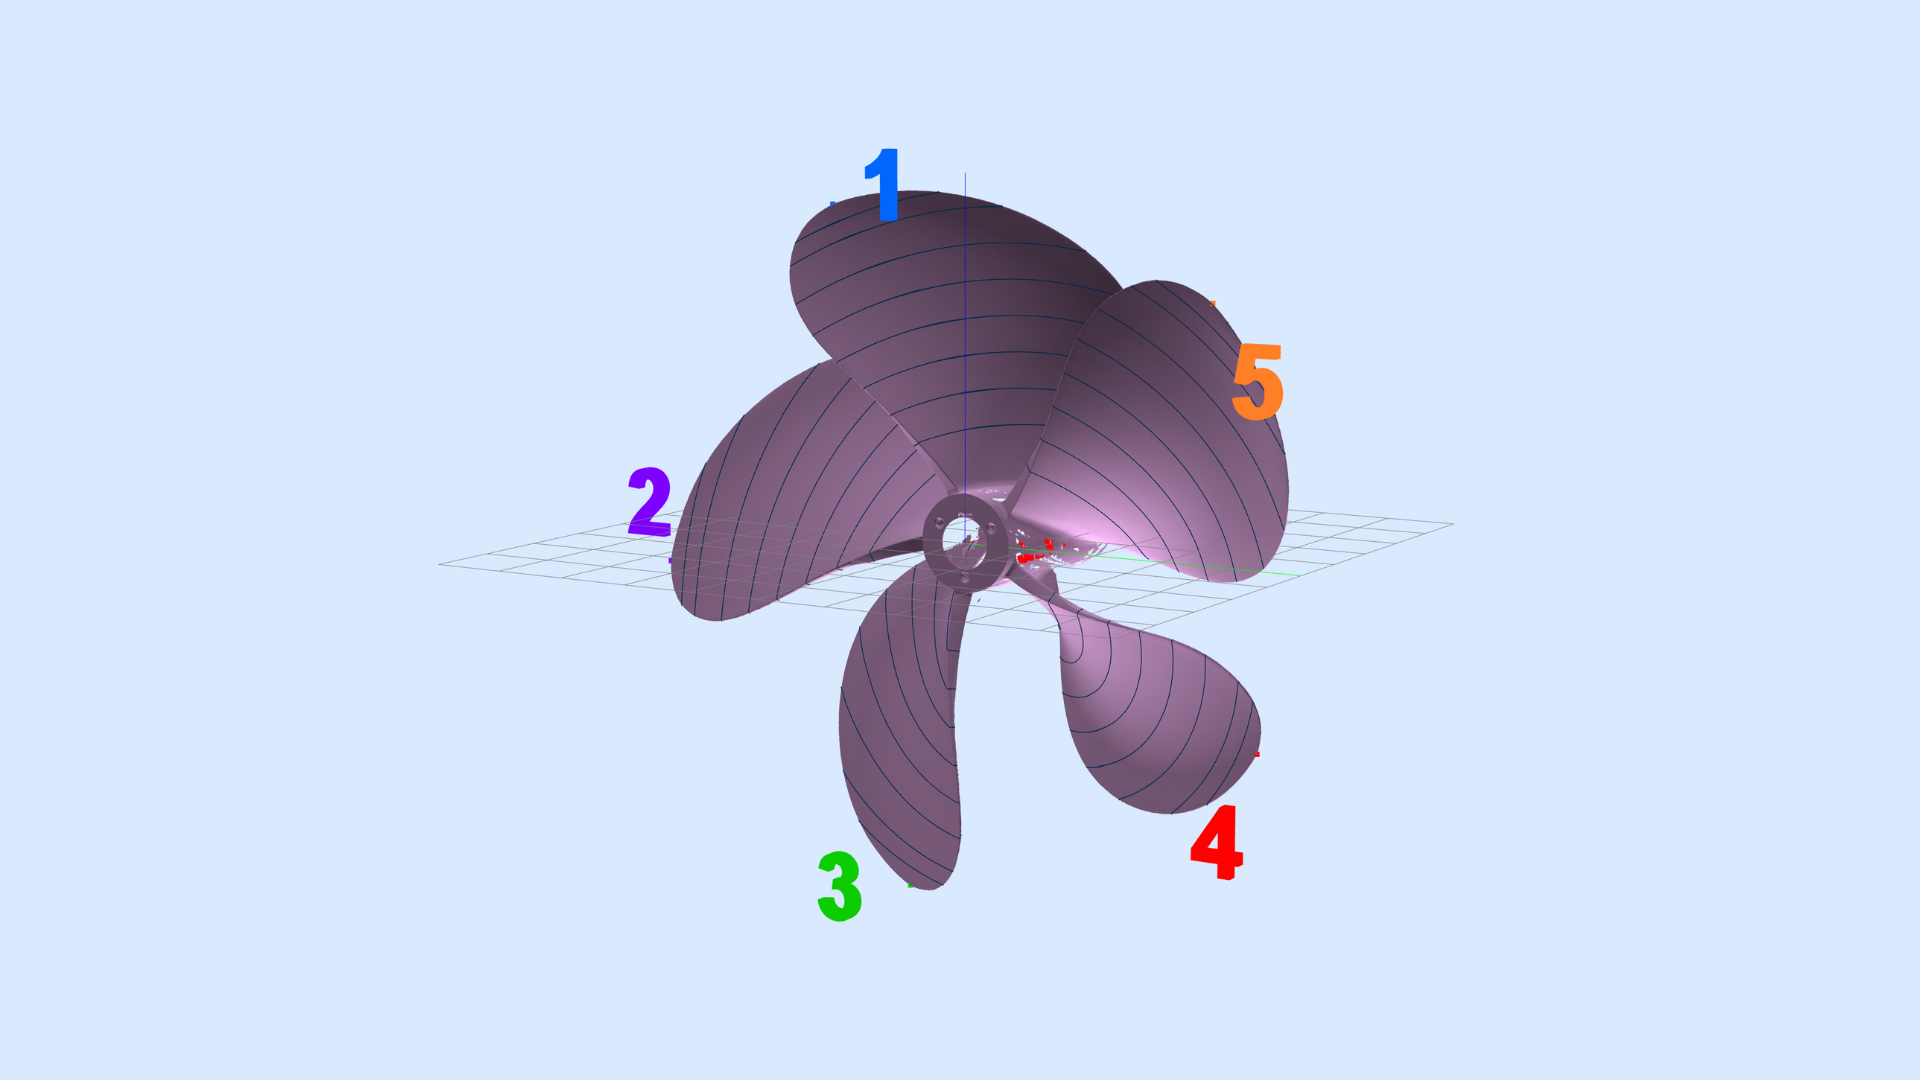
3D laser scanning paired with TrueProp Software™ provides a highly fast and accurate method for propeller inspection. This approach not only identifies and documents damage but also determines the propeller’s ISO 484 class and evaluates critical specifications necessary for repair, repitching, replacement, or repowering. With metrology-grade handheld 3D laser scanners or measuring arms, propellers of any size and shape can be scanned and inspected quickly and in any position—even while installed on the vessel—eliminating the need to remove the propeller.
TrueProp Software™ is a specialized program that analyzes the captured 3D laser scan data against ISO 484-2 industry-standard tolerances. It automatically examines key measurements, including ISO radii, prop pitch, blade pitch, section pitch, local pitch, tip diameters, chord length, leading-edge skew, rake track, and blade spacing, to determine the propeller’s ISO 484 class. In this system, Class S indicates the highest tolerance, followed by Classes 1, 2, and 3—with Class 3 representing the lowest tolerance.
EQUIPMENT USED
Metrology-Grade Handheld 3D Scanner: Shining FreeScan UE Pro (3D Accuracy: 0.02 mm)
Measuring Arm CMM: Faro Quantum Max (3D Accuracy: 0.030 mm)
APPLICATIONS
Propeller Inspection: Identification, Documentation, and Analysis Essential for Propeller Repair, Repitching, Replacement, and Repowering Efforts
APPLICATIONS
PROPELLER INSPECTION REPORT
ISO Radii
Prop Pitch
Blade Pitch
Section Pitch
Local Pitch
Tip Diameters
Chord Length
LE Skew
Rake Track
Blade Spacing

