AS-BUILT 3D CAD MODELS
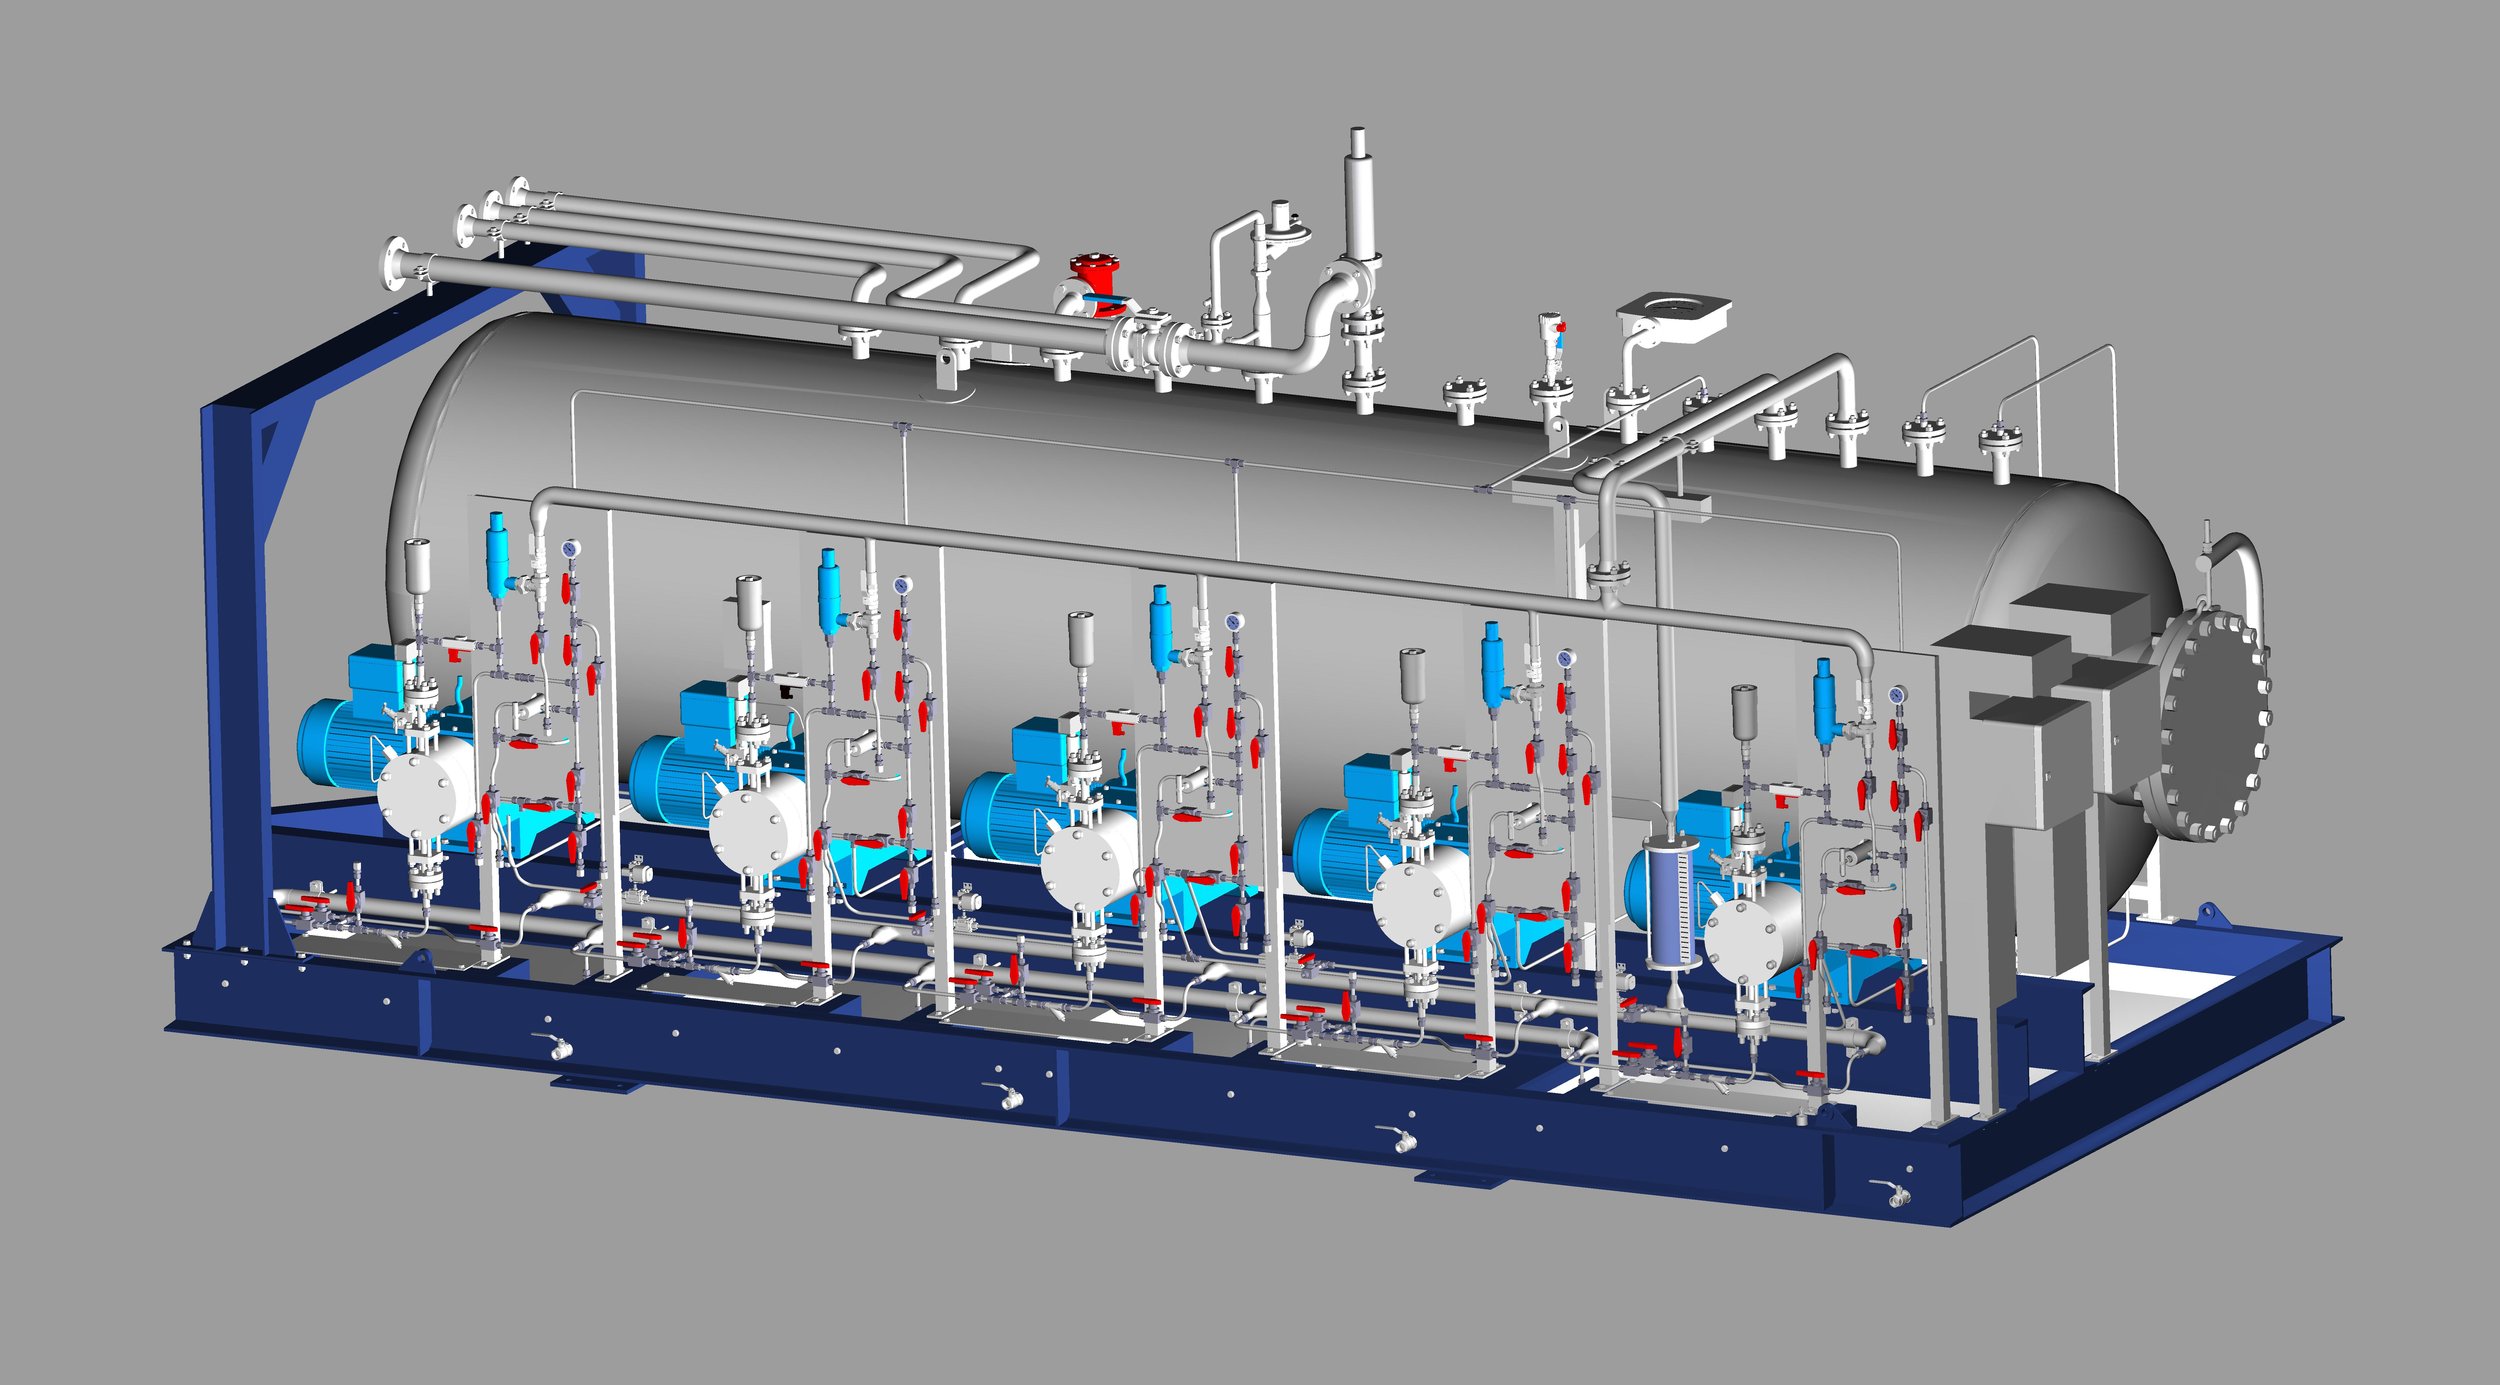
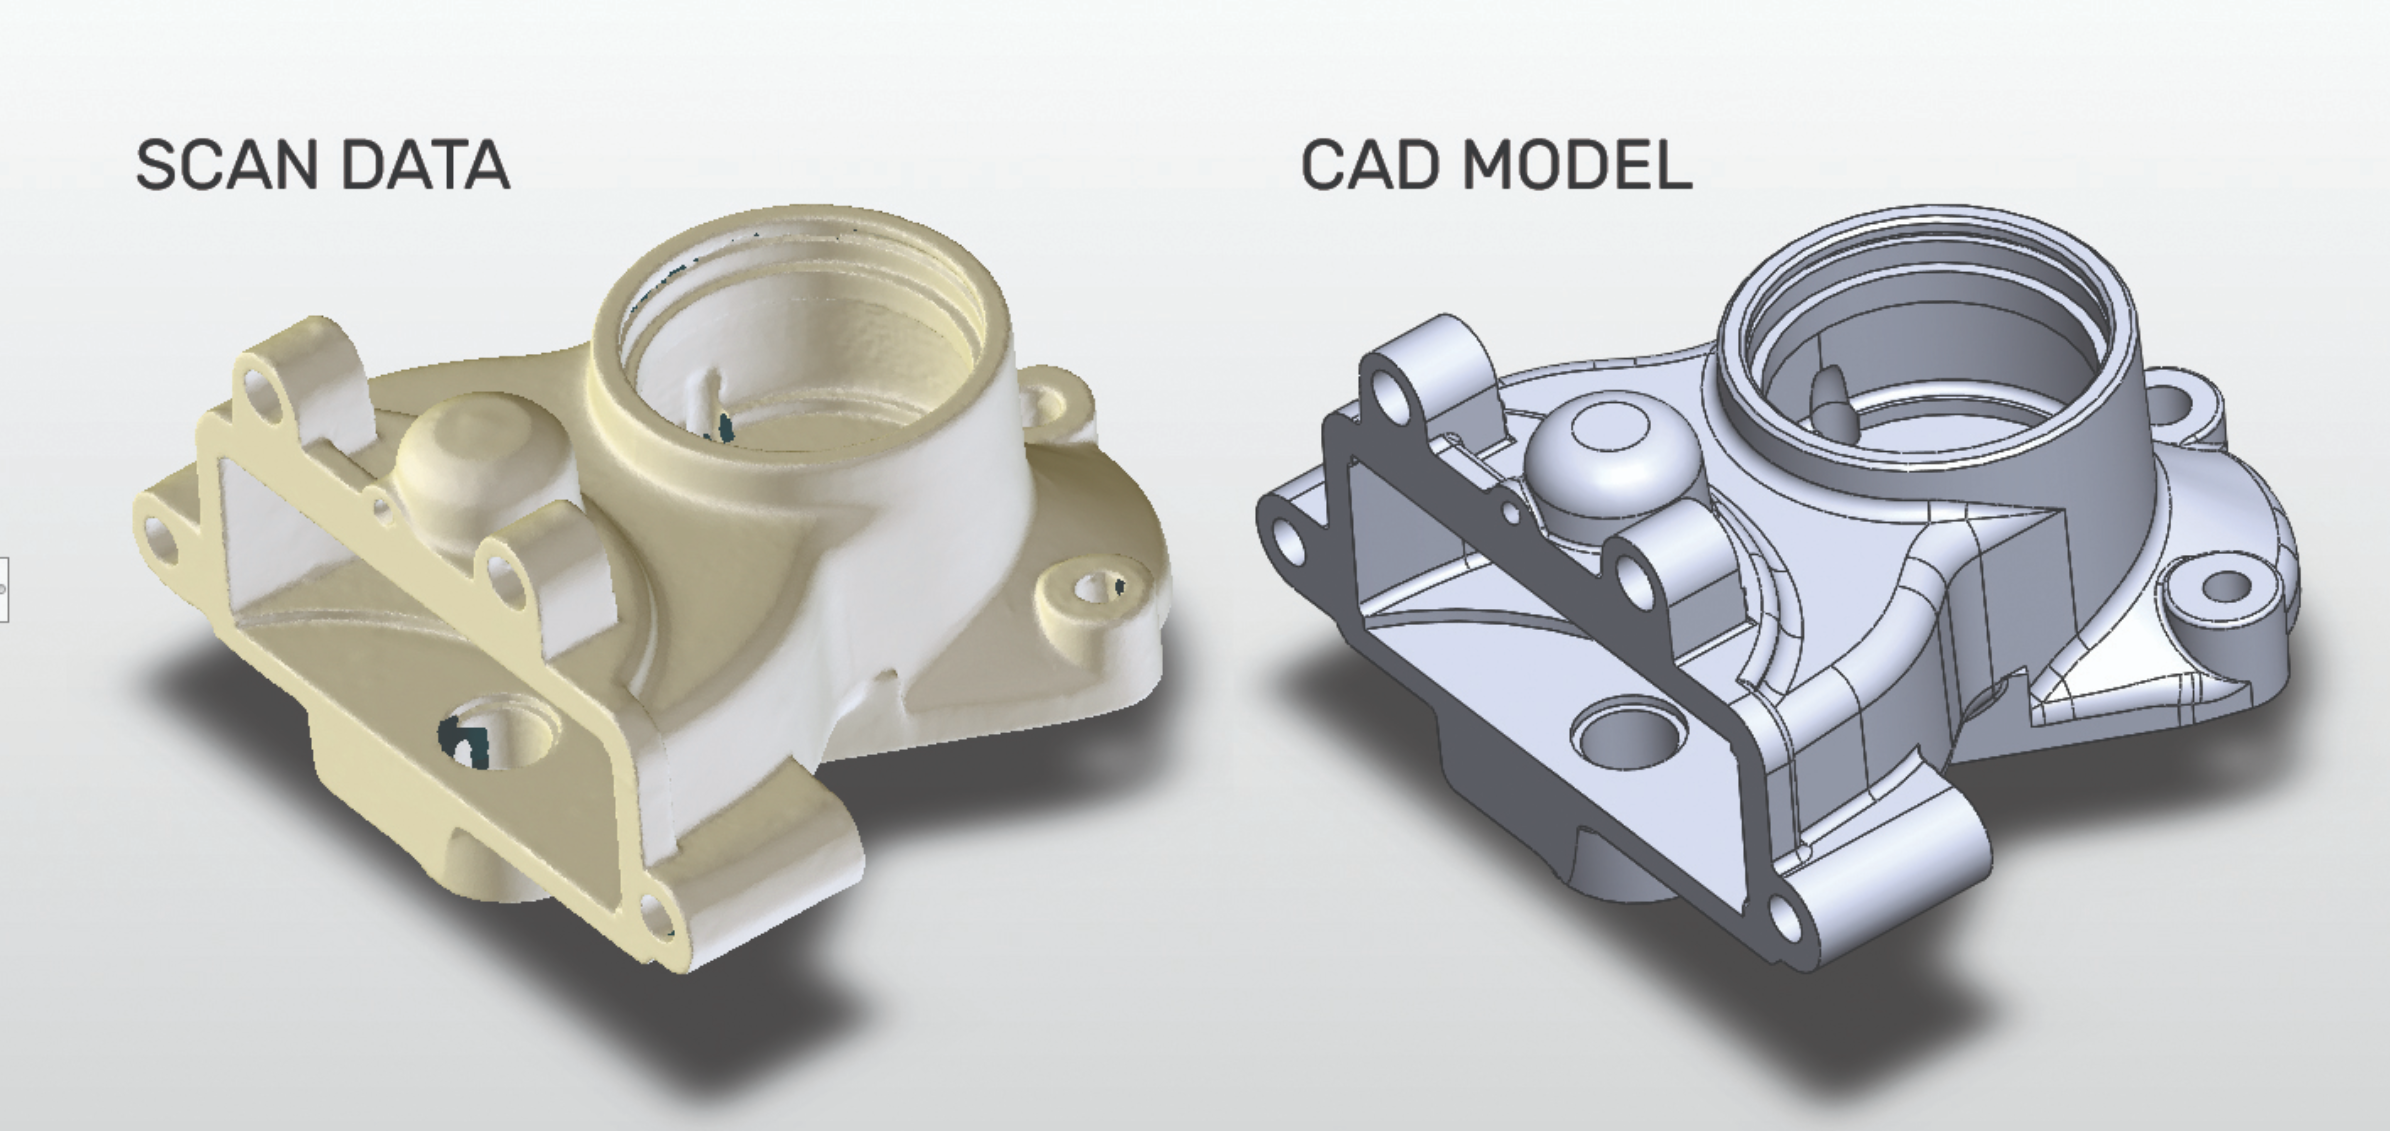
We create as-built 3D CAD models of any object, regardless of its complexity or size, using data obtained through 3D laser scanning and/or coordinate measuring machine (CMM) measurements. For 3D laser scanning, we use our terrestrial 3D laser scanners and metrology-grade handheld 3D laser scanners, while our CMM measurements are taken using a laser tracker and measuring arm.
For small- to medium-sized objects, we use CMM measurements from the measuring arm and laser tracker, along with 3D laser scan data from our metrology-grade handheld 3D laser scanner. For larger objects, such as heavy machinery, we typically use terrestrial 3D laser scanners and a laser tracker.
Depending on the project, we frequently combine these methods to achieve the highest accuracy possible while collecting comprehensive data for the most detailed as-built 3D CAD model. For instance, combining terrestrial 3D laser scan data (which typically provides a 3D accuracy of about 2 mm) with data from a laser tracker (which typically offers a 3D accuracy of about 0.02 mm) allows us to achieve exceptional accuracy for critical areas while still benefiting from the broad coverage of 3D laser scanning.
As a result, as-built 3D CAD models created from 3D laser scanning and/or CMM measurements are far more accurate and detailed than those produced using conventional manual methods. Moreover, reverse-engineered as-built 3D CAD models created from 3D laser scan and CMM measurements can be easily converted into 2D CAD drawings.
Our specialized workflows for converting 3D laser scan and CMM measurement data into 3D CAD models allow us to tailor our deliverables to each project’s unique requirements—leaving no room for error.
EQUIPMENT USED
Terrestrial 3D Laser Scanner: Leica RTC360 (3D Accuracy: 1.9 mm)
Terrestrial 3D Laser scanner: Faro Focus S 150 (3D Accuracy: 2 mm)
Terrestrial 3D Laser Scanner: Leica BLK360 (3D Accuracy: 4 mm)
Metrology-Grade Handheld 3D Scanner: Shining FreeScan UE Pro (3D Accuracy: 0.02 mm)
Laser Tracker CMM: Faro Vantage S6 Max (Accuracy: 0.016 mm + 0.0008 mm/m)
Measuring Arm CMM: Faro Quantum Max (3D Accuracy: 0.030 mm)
Total Station: Leica FlexLine TS10 1” R1000 (Accuracy: 1 mm, Angular Accuracy: 1 s)
RTK GNSS: Leica GS18 T GNSS RTK Rover (Accuracy: 8 mm)
XRF Analyzer: Skyray Explorer Handheld XRF
Ultrasonic Thickness Gauge: Olympus 38DL PLUS (Accuracy: 0.001 mm)
Sphere Targets
APPLICATIONS
Reverse Engineering
2D CAD Documentation
BIM Models (Scan To BIM)
Plant Design Models (Scan To Plant)
Machinery Alignment & Inspection
Storage Tank Inspection & Calibration
Deformation & Wear Analysis
Georeferencing
VR/AR & 3D Digital Content
XRF & Thickness Analysis
APPLICATIONS
SCAN TO CAD


POINT CLOUD
CAD MODEL


